
The Leviton Motion Sensor Light Switch offers convenient, automated lighting control with manual override options. It detects motion to turn lights on/off, enhancing security and energy efficiency while providing a sleek, modern design for any space.
1.1 Overview of the Leviton Motion Sensor Light Switch
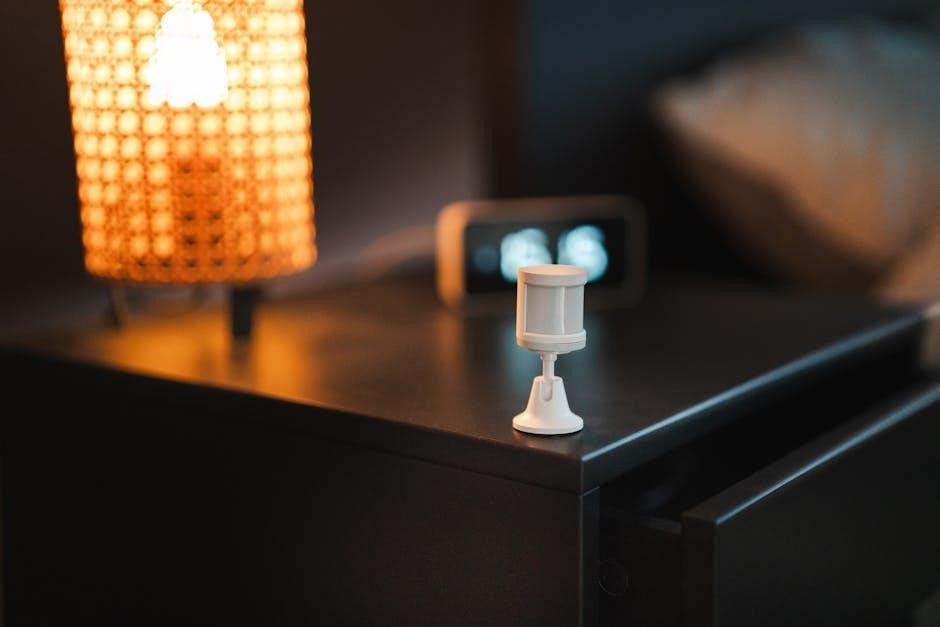
The Leviton Motion Sensor Light Switch is a cutting-edge device designed to automate lighting control in residential and commercial spaces. It combines advanced motion detection technology with manual override capabilities, offering users the flexibility to manage their lighting preferences effortlessly. The switch is available in various models, such as the DOS02 and DVS15-1LZ, each tailored to specific installation needs, including single-pole and 3-way configurations. With features like adjustable sensitivity, timer settings, and ambient light overrides, this switch ensures energy efficiency and convenience. Its sleek, compact design integrates seamlessly with modern interiors, providing a reliable and user-friendly solution for smart lighting control.

1.2 Key Features and Benefits
The Leviton Motion Sensor Light Switch boasts several key features that make it a standout solution for automated lighting control. One of its most notable benefits is its advanced motion detection technology, which accurately senses movement within a wide coverage area, ensuring lights turn on and off as needed. The switch also offers manual-on and auto-on modes, allowing users to choose their preferred operation style. Additionally, it includes adjustable sensitivity settings to customize detection range and timer settings that can be fine-tuned to optimize energy efficiency. The ambient light sensitivity feature prevents lights from activating during daylight, further enhancing energy savings. With its versatile installation options, including single-pole and 3-way configurations, this switch provides a practical and efficient solution for various lighting needs, making it an excellent choice for both homeowners and businesses.
Installation and Setup
Ensure power is off at the circuit breaker before installation. Verify wiring connections and consult the manual for specific instructions for models like DOS02 and DVS02.
2.1 Preparation for Installation
Before installing the Leviton Motion Sensor Light Switch, ensure the power is turned off at the circuit breaker. Gather necessary tools and materials, including a screwdriver and voltage tester. Verify the switch type (single-pole or 3-way) and ensure compatibility with your wiring setup. Review the manual for specific model instructions, such as for DOS02 or DVS02. Familiarize yourself with the wiring diagram provided to avoid errors. Check that the sensor’s coverage area meets your room’s requirements and adjust placement accordingly. If neutral wires are present, follow the appropriate connection steps outlined in the guide. Ensure all connections are secure to prevent malfunctions post-installation.
2.2 Step-by-Step Installation Guide
Turn off power at the circuit breaker and verify it’s off using a voltage tester.
Remove the old switch and disconnect the wires.
Connect the wires to the Leviton Motion Sensor Switch as per the wiring diagram:
― For single-pole: Connect line (black) to “LINE” and load (black) to “LOAD.”
― For 3-way: Follow the provided 3-way wiring instructions.
Secure all connections tightly to prevent loose wires.
Mount the switch to the wall and replace the cover plate.
Turn the power back on and test the sensor by moving within its range.
Use the manual override to ensure the switch functions correctly before relying on motion detection.
This ensures a safe and proper installation of your Leviton Motion Sensor Light Switch.
2.3 Wiring Diagrams and Instructions
Refer to the provided wiring diagrams for your specific Leviton Motion Sensor Light Switch model. For single-pole installations, connect the black “LINE” wire to the circuit’s hot wire and the black “LOAD” wire to the light fixture. The ground wire connects to the grounding terminal. For 3-way installations, ensure the traveler wire is correctly connected to the “TRAV” terminal. If your model requires a neutral wire, connect it to the “NEUTRAL” terminal. Use the wiring diagram to verify connections, ensuring all wires are securely attached. If unsure, consult the manual or contact a licensed electrician. Proper wiring is crucial for safe and reliable operation of the motion sensor switch.
Operation Modes
The Leviton Motion Sensor Light Switch operates in Manual-On and Auto-On modes. It automatically turns lights off after a set timer and allows sensitivity adjustments for customized control.
Additional settings enable ambient light detection and manual override functionality, ensuring seamless integration into any space.
3.1 Manual-On Mode
In Manual-On mode, the Leviton Motion Sensor Light Switch requires manual activation to turn the lights on. Users can press the switch or use a remote control to activate the light.
This mode is ideal for scenarios where constant automated sensing is not desired, offering control for specific situations.
Once activated, the sensor takes over, turning the lights off automatically after a set period of inactivity.
This mode ensures energy efficiency while providing flexibility for user preferences.
3.2 Auto-On Mode
In Auto-On mode, the Leviton Motion Sensor Light Switch automatically turns the lights on when motion is detected, providing seamless convenience and hands-free operation.
This mode is perfect for high-traffic areas like hallways or staircases, where manual switching is impractical.
The sensor activates the light as soon as it detects movement within its range, ensuring the space is always illuminated when needed.
After a programmed period of inactivity, the lights automatically turn off, optimizing energy efficiency.
Users can adjust sensitivity and timer settings to customize the experience, ensuring the light stays on long enough for comfort and safety.
This mode enhances security and convenience, making it a popular choice for smart home setups.
3.4 Adjusting Sensitivity and Timer Settings
Adjusting sensitivity and timer settings on the Leviton Motion Sensor Light Switch allows for customized operation tailored to specific needs.
Users can fine-tune the sensor’s detection range to reduce false triggers or extend coverage for larger areas.
The timer setting determines how long the light remains on after motion is no longer detected, with options ranging from seconds to minutes.
These adjustments ensure energy efficiency and convenience, preventing unnecessary light usage.
Settings can be modified manually via the switch or through compatible remote controls, depending on the model;
Proper calibration enhances performance, ensuring the light responds accurately to motion and ambient conditions.
This feature-rich customization makes the Leviton switch adaptable for various environments and preferences.
Troubleshooting Common Issues
Common issues include lights not turning on, sensor not detecting motion, or manual override failing. Check wiring, adjust sensitivity, or reset the switch if problems persist.
4.1 Lights Do Not Turn On When Motion is Detected
If lights fail to turn on when motion is detected, ensure the sensor is powered up and motion is within range. Check if ambient light sensitivity is set too high, as bright environments may override the sensor. Verify wiring connections and ensure the light bulb is functional. Adjust the sensitivity settings by rotating the dial counterclockwise to enhance detection. If issues persist, reset the sensor by turning it off and on or refer to the manual for advanced troubleshooting steps. Ensure no obstructions block the sensor’s field of view.
4.2 Motion Sensor Not Detecting Movement
If the motion sensor fails to detect movement, check the sensitivity settings. Ensure the sensor’s range is adequate for the area. Clear any obstructions blocking the sensor’s field of view. Verify that the sensor is powered correctly and that wiring connections are secure. Adjust the ambient light sensitivity to ensure it’s not set too high, which might prevent detection in bright environments. Ensure the sensor is properly calibrated and that no objects are interfering with its infrared detection. If issues persist, reset the sensor by turning it off and on or consult the manual for advanced troubleshooting options. Ensure the sensor is clean and free from dust or debris that might impede its functionality.
4.3 Manual Override Not Working
If the manual override feature isn’t functioning, start by ensuring the switch is properly installed and powered. Check the wiring connections to confirm they are secure and correct. Test the switch by pressing and holding the manual override button to see if it activates the light. If the light doesn’t respond, the sensor might be in a mode that prioritizes motion detection over manual control. Refer to the manual to ensure the switch is set to allow manual overrides. Additionally, verify that the sensor’s timer settings aren’t conflicting with manual operations. If the issue persists, resetting the sensor or consulting the troubleshooting section of the manual may be necessary to resolve the problem effectively.
4.4 Sensor Ignores Motion After Manual Turn-Off
If the sensor stops detecting motion after manually turning off the light, it may be due to a feature designed to prevent immediate reactivation. This is often a built-in delay to allow users to exit the area without the light turning back on. Check the sensor’s settings to ensure the timer and sensitivity levels are appropriately adjusted. If the issue persists, resetting the sensor by turning it off and on again might resolve the problem. Additionally, verify that the ambient light sensitivity is set correctly, as high ambient light levels can interfere with motion detection. Consult the manual for specific instructions on adjusting these settings to restore proper functionality and ensure the sensor operates as intended after manual overrides.

Advanced Customization
The Leviton Motion Sensor Light Switch offers advanced customization options, allowing users to adjust timer settings, ambient light sensitivity, and switch modes for optimal performance.
5.1 Changing Timer Settings
To customize the timer on your Leviton Motion Sensor Light Switch, locate the adjustment dial on the back of the device. Turn the dial counterclockwise to increase the timeout duration or clockwise to decrease it. The timer controls how long the lights remain on after motion is no longer detected. Settings typically range from 5 seconds to 30 minutes, depending on the model. For precise adjustments, refer to the dial’s marked increments. After setting, test the timer by triggering the sensor and observing the light’s behavior. This feature ensures the lights operate according to your preferences, balancing convenience and energy efficiency. Always turn off power before making adjustments to avoid electrical issues.

5.2 Adjusting Ambient Light Sensitivity
The Leviton Motion Sensor Light Switch allows you to adjust ambient light sensitivity to customize when the sensor activates. Locate the sensitivity adjustment dial on the back of the switch. Turning the dial counterclockwise decreases sensitivity, enabling the sensor to activate in brighter conditions, while clockwise increases sensitivity, restricting activation to darker environments. This feature ensures the lights only turn on when necessary, preventing unnecessary activation during daylight or in well-lit areas. Adjust the dial to match your room’s lighting conditions for optimal performance. Test the settings by observing the sensor’s response to motion under various light levels. Proper adjustment enhances energy efficiency and user convenience, ensuring the sensor operates as intended in your specific environment.
5.3 Switching Between Modes
Switching between modes on the Leviton Motion Sensor Light Switch is straightforward. To change from Auto-On to Manual-On, press and hold the switch until the indicator light blinks once. Release to confirm. For Manual-On mode, lights stay on until manually turned off. To revert to Auto-On, press and hold again until the light blinks twice. This feature allows you to customize the sensor’s behavior based on your needs. The switch also includes a push-button for manual override, providing flexibility in any setting. Ensure the sensor is powered up and adjust settings as required for optimal functionality. This mode-switching capability enhances convenience and adapts to various lighting preferences. Always refer to the manual for detailed instructions to avoid configuration issues. Proper mode selection ensures the sensor operates efficiently, meeting your specific requirements.